Quick Tip - Customise the Office 365 nav bar
 Ever get sick of clicking the square navigation button in the corner that allows you to quickly access common Office 365 functions? Want to make good use of the space in the bar at the top of Office 365 pages?To place up to three icons at the top next to your profile pic you need to follow some quick and easy steps.
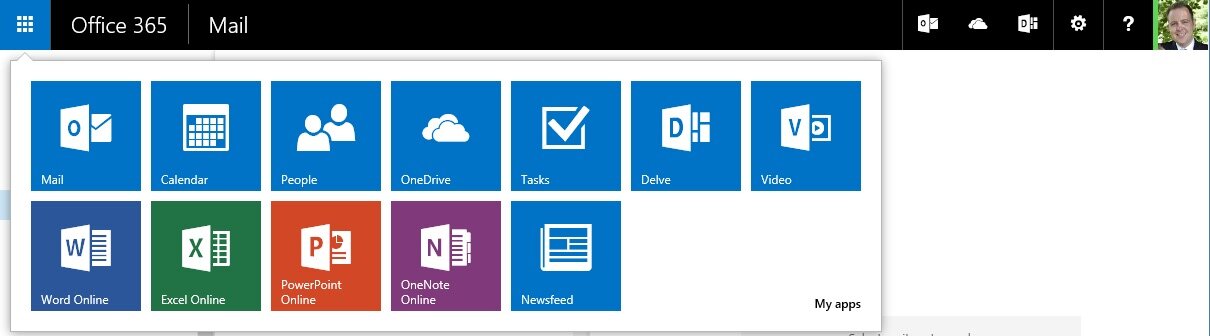
- Click the square navigation icon in the top left hand corner to show the tiles.
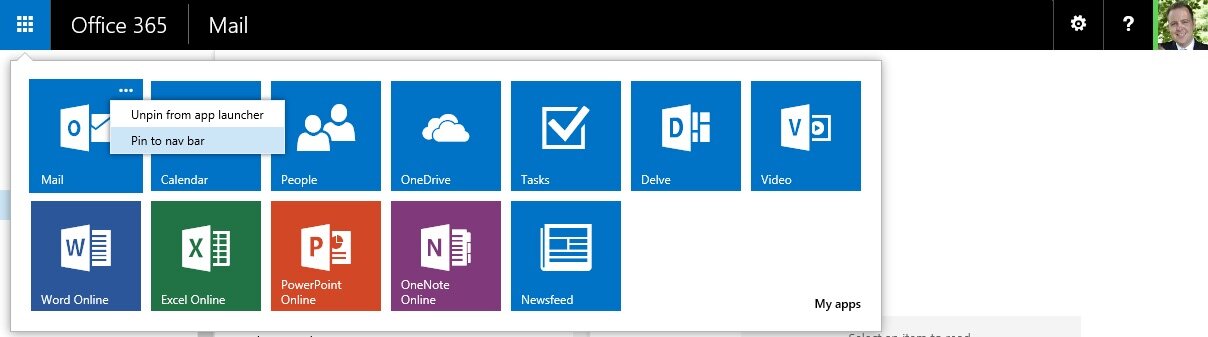
- When you hover over the icons you should see three dots in the top right hand of the tile. (I couldn't see this when I was on the SharePoint homepage so I had to visit the Outlook web app.)
- Click those three dots to display a pop up menu.
- Click Pin to nav bar
- The icon will be displayed at the top right of the screen. You can display three icons so choose wisely!